


Post by str33tdr1ft3r on Dec 25, 2008 13:13:28 GMT -5
People are raring to know this tutorial. To be honest, it's everywhere, but some people claim they cant find it. Anyway, here's a tutorial made by me just for you! (Step by step) 
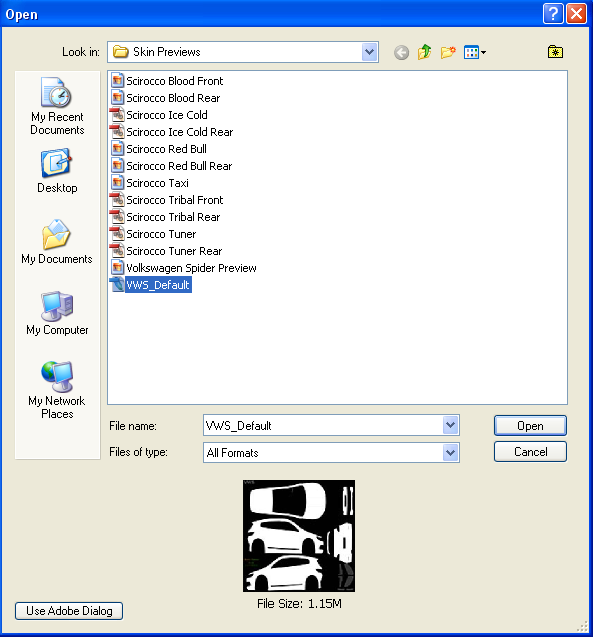
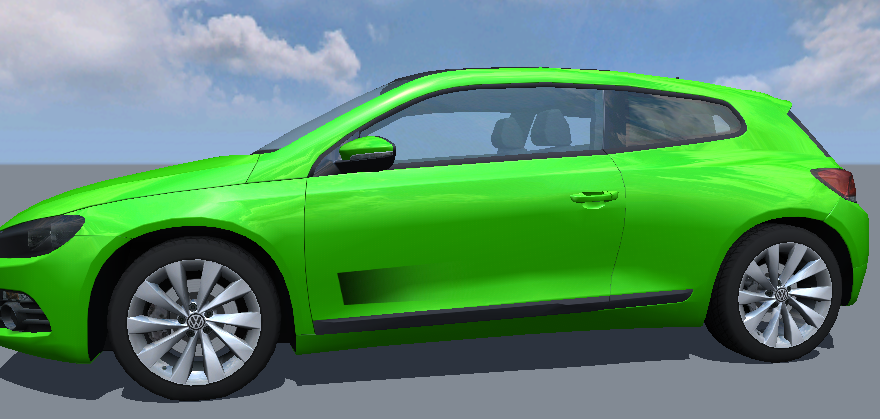
1.) Open your file, in this case, it will be the upcoming Volkswagen Scirocco. Remember, You can choose any car!
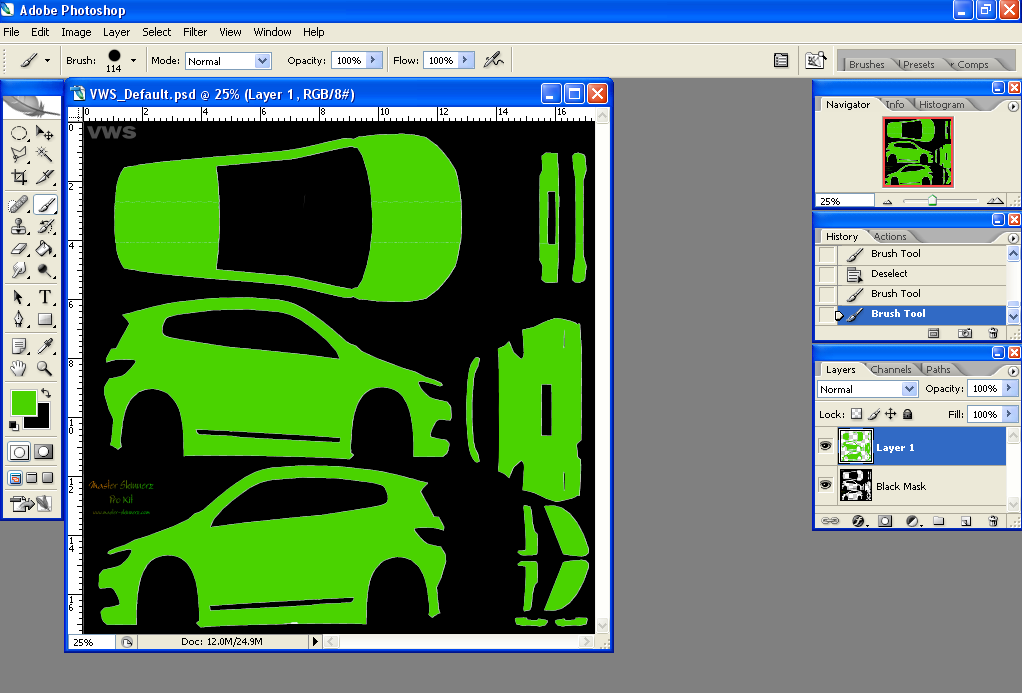
2.) Choose which ever color, normally it would be white but I'm going for a nice Viper Green. Dont forget to highlight the car and then color it!
3.) Here comes the plan of your vent, it won't take an expert to do it but you might need to becareful. Remember, if it's a bright color on the car, pick up the line tool and use a dark color. If you need a big vent, do it like shown, if you need a small vent, I will get that tutorial up soon!

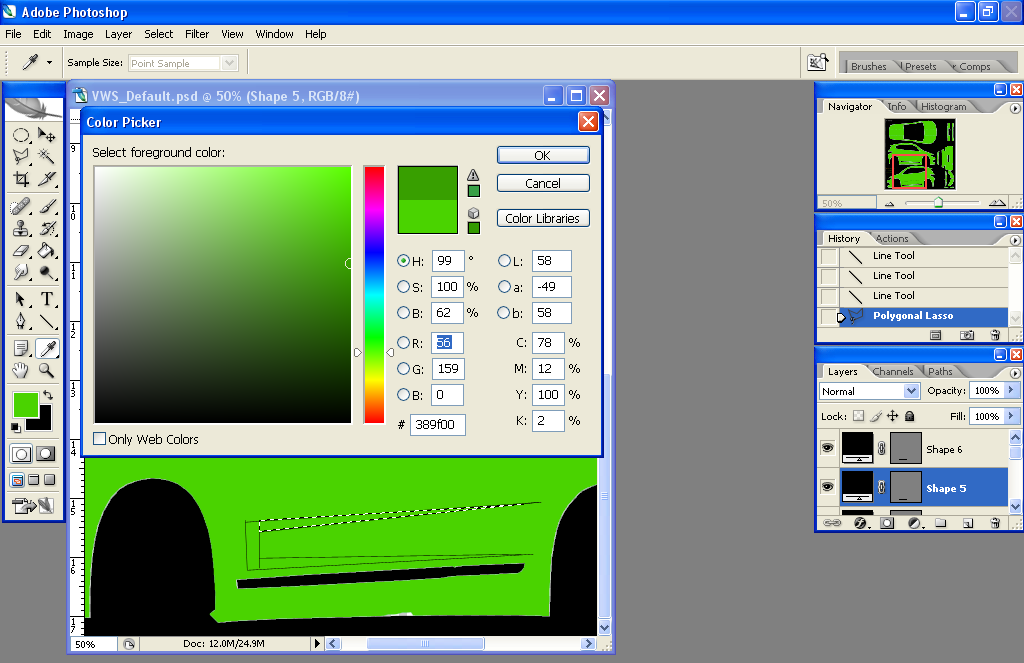
4.) Now that you have your plan, it's time to get started, first add a little dark version of your color, in this case, it would be dark green, make sure it isn't too dark! Go around the first spike (what i call it) with the Polygonal Lasso tool and then fill it with the darker color.
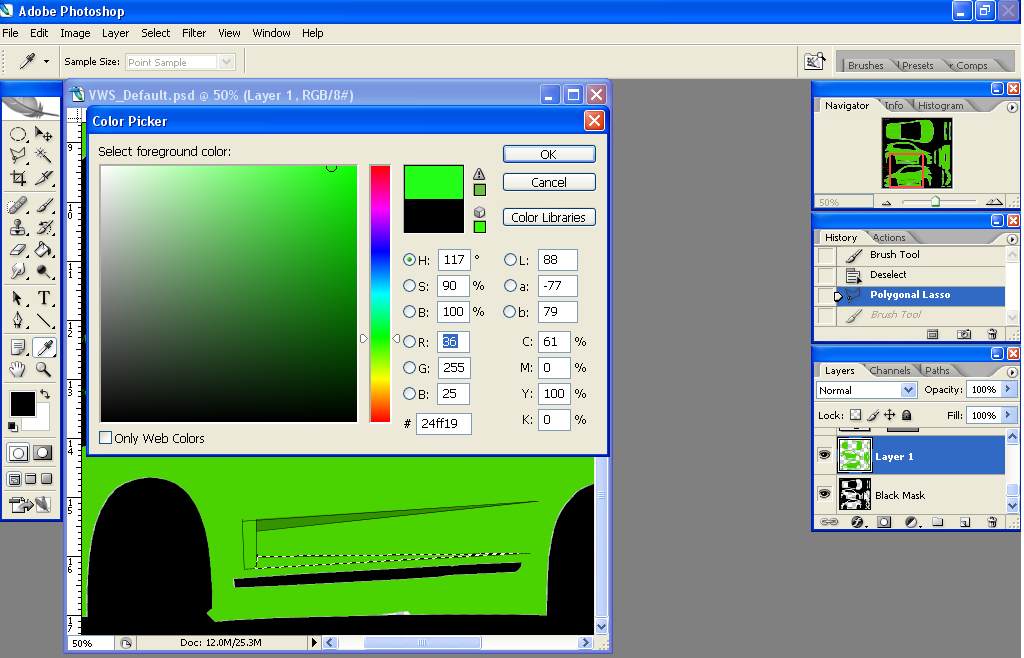
5.) Now that you got your dark color on the top, make the bottom spike the light version of the color on your car like so...
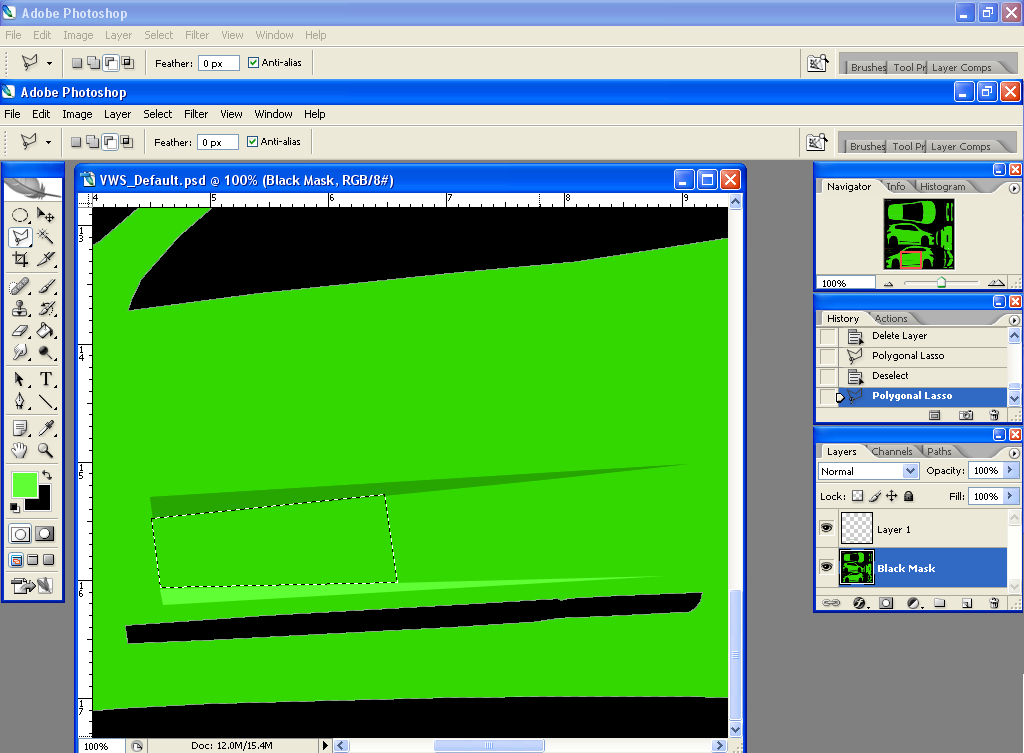
6.) Moment of truth, remove the lines you made with the line tool by deleting it's layer (you may of noticed it has made its own layer for each line). Once you are dont, grab the Polygonal Lasso tool once more and make a shape in between the spikes like this...
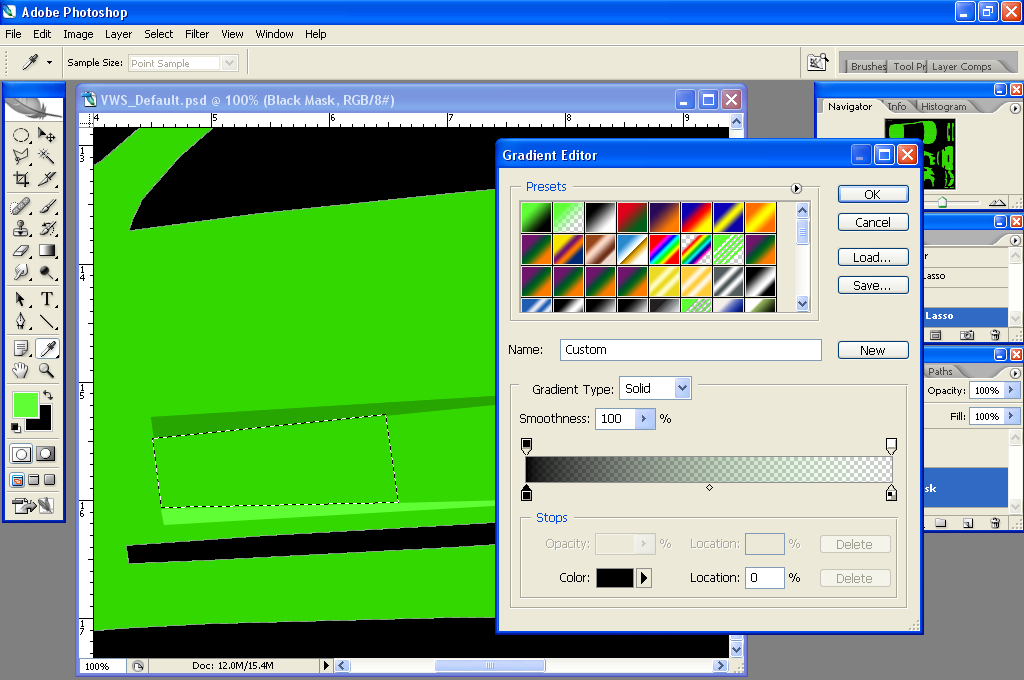
7.) Grab the Gradient tool and set it up like this...
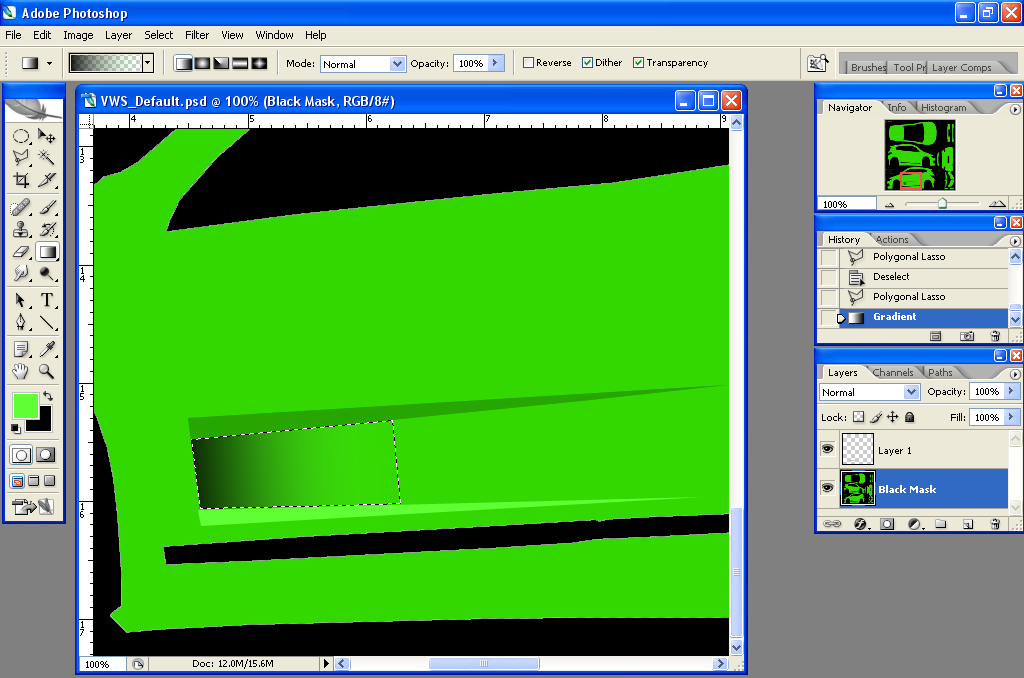
8.) Now add the gradient to the section as so...
9.) Just do the same on the other side. To save time, you should Merge the layers, highlight the side, Press Ctrl+C. Now you've copied it, so press Ctrl+Z to undo the Merge because you will need the layers for editing. Then just hit Ctrl+V, then Ctrl+T and right click then click on "Horizontal" and place it on the other side The disadvantage for that is that you wont have the same layers on the other side  I suggest you finish doing one side and just paste it on the other so you wont need to edit it.
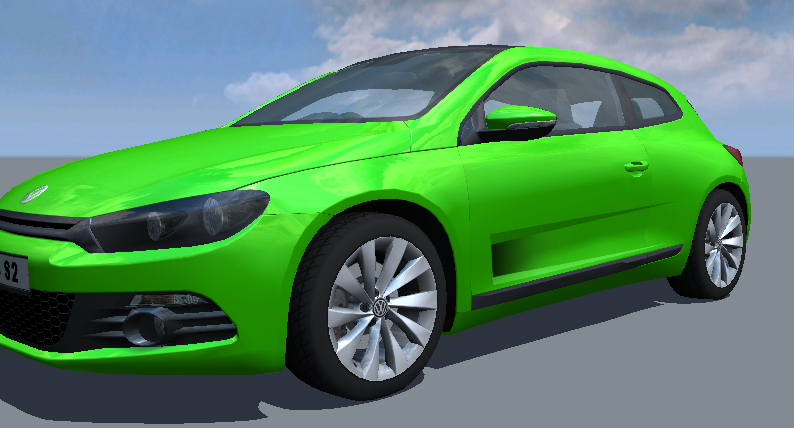
Here's how it looks in Viewer...
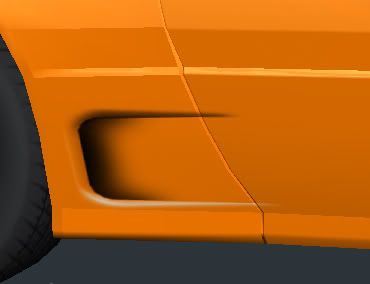
Hmm, looks abit fake to me, maybe I'm just used to chopping cars...Anyway, Lets rewind back. Remove those two spikes but leave the gradient, it should look like this...

Aha! Now here's how it looks in Viewer...
Maybe that wasn't a good position but it still looks quite real, I'm sure you can do better. If you think about it, those spikes that you had to remove could of been Guide Lines Lol.
Any Concerns/Questions, feel free to ask.
Enjoy,
STR33T DR1FT3R

1.) Open your file, in this case, it will be the upcoming Volkswagen Scirocco. Remember, You can choose any car!
2.) Choose which ever color, normally it would be white but I'm going for a nice Viper Green. Dont forget to highlight the car and then color it!
3.) Here comes the plan of your vent, it won't take an expert to do it but you might need to becareful. Remember, if it's a bright color on the car, pick up the line tool and use a dark color. If you need a big vent, do it like shown, if you need a small vent, I will get that tutorial up soon!
4.) Now that you have your plan, it's time to get started, first add a little dark version of your color, in this case, it would be dark green, make sure it isn't too dark! Go around the first spike (what i call it) with the Polygonal Lasso tool and then fill it with the darker color.
5.) Now that you got your dark color on the top, make the bottom spike the light version of the color on your car like so...
6.) Moment of truth, remove the lines you made with the line tool by deleting it's layer (you may of noticed it has made its own layer for each line). Once you are dont, grab the Polygonal Lasso tool once more and make a shape in between the spikes like this...
7.) Grab the Gradient tool and set it up like this...
8.) Now add the gradient to the section as so...
9.) Just do the same on the other side. To save time, you should Merge the layers, highlight the side, Press Ctrl+C. Now you've copied it, so press Ctrl+Z to undo the Merge because you will need the layers for editing. Then just hit Ctrl+V, then Ctrl+T and right click then click on "Horizontal" and place it on the other side
The disadvantage for that is that you wont have the same layers on the other side  I suggest you finish doing one side and just paste it on the other so you wont need to edit it.
Here's how it looks in Viewer...
Hmm, looks abit fake to me, maybe I'm just used to chopping cars...Anyway, Lets rewind back. Remove those two spikes but leave the gradient, it should look like this...
Aha! Now here's how it looks in Viewer...
Maybe that wasn't a good position but it still looks quite real, I'm sure you can do better. If you think about it, those spikes that you had to remove could of been Guide Lines
Lol.Any Concerns/Questions, feel free to ask.
Enjoy,
STR33T DR1FT3R


 but you get the idea.
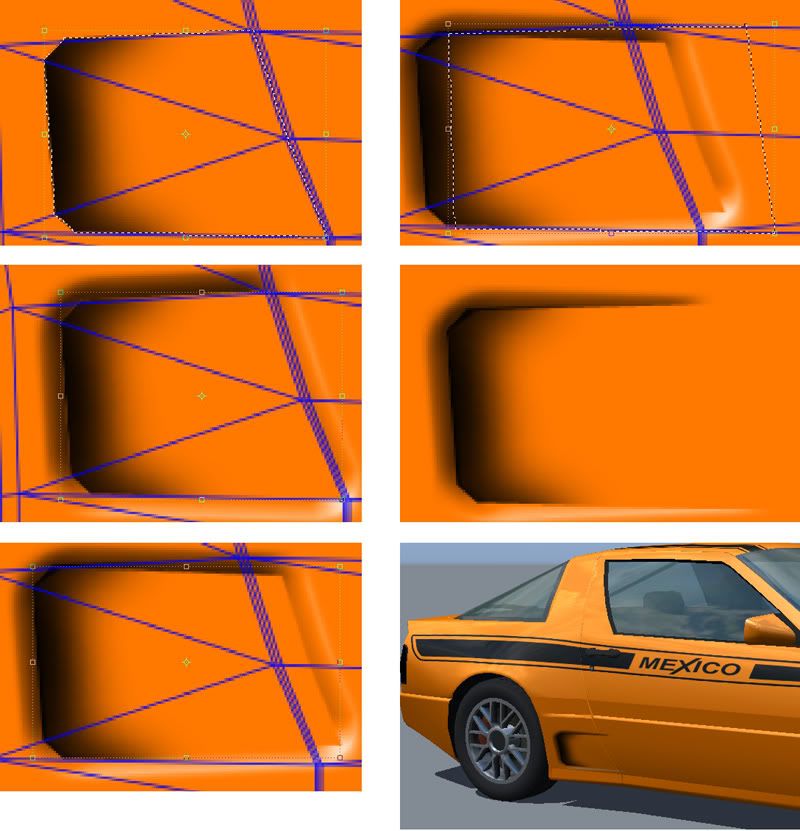


 But I found a link you were looking for, check your last post.
